


Explore more wedding ideas & advice
DIY Wedding Table Numbers
Explore
Our service has assisted tens of thousands of couples worldwide in planning their dream weddings!
DIY Wedding Table Numbers — Easy Tutorials and Templates
DIY wedding table numbers are about the home-craft path — print at home, cut by hand, build the stand yourself, and still save on print-on-demand. The template handles the design, the crop marks and the exact-count math; you handle the assembly.
This page is about home-craft assembly. For template design and customization options, see table numbers template. For professional print specs and cardstock guidance, see printable table numbers. For 25+ creative concepts, see table number ideas.
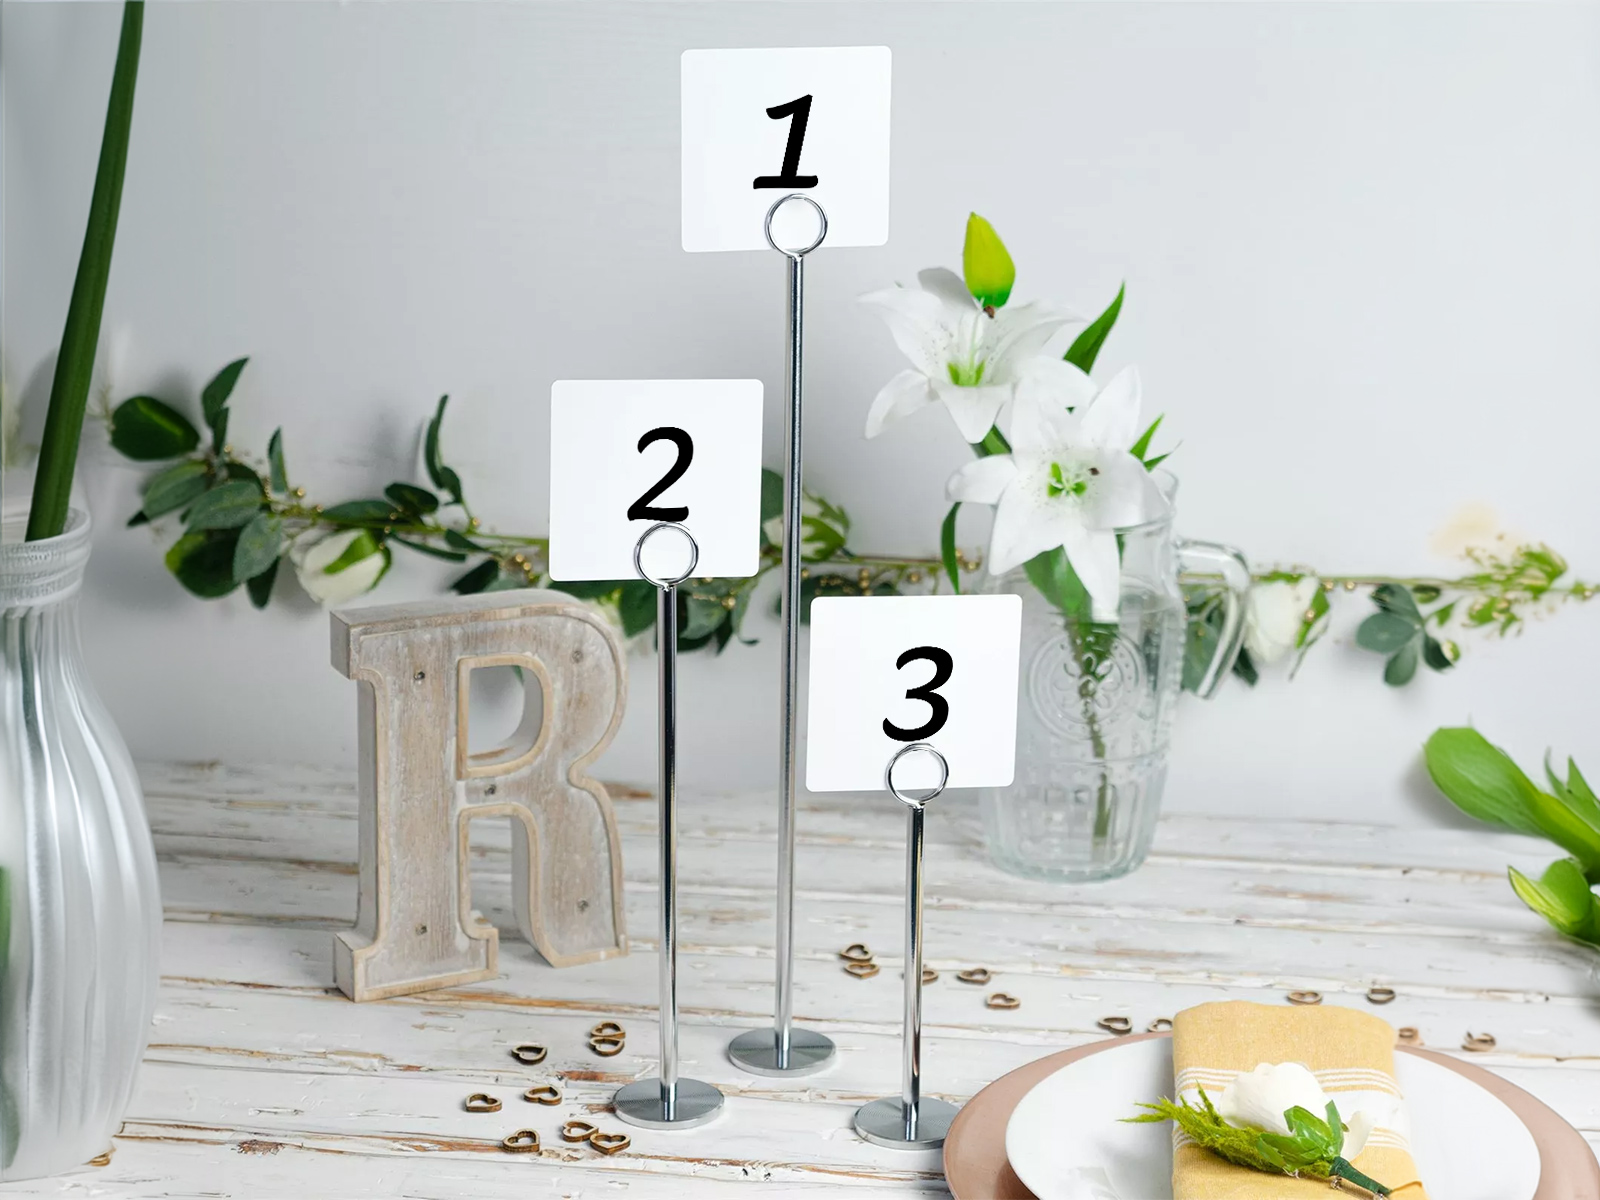
DIY belongs in your wedding budget as the cheapest path for table numbers — typically $5–$15 in materials plus the one-time Premium for the print file ($29 per project on the web, which also unlocks the seating chart PDF and every other stationery PDF), versus $50–$120 print-on-demand for 12 tables alone.
Card count comes from your seating chart floor plan, so you print exactly the right number — no leftover cards.
DIY pairs naturally with the rest of your home-printed wedding day-of stationery. Same paper, same printer, same afternoon.
PLANNING . WEDDING — is easy to remember and even easier to use.
DIY Workflow — From PDF to Finished Number
The basic flow takes 90 minutes for 10–15 tables, longer if you’re adding decorative elements.
- Download the print-ready PDF from the project with Premium — the count is already correct.
- Print on cardstock — 100–110 lb is the wedding default; see the printable page for full guidance.
- Cut along the dashed lines and corner crop marks — a paper trimmer ($15 home tool) is faster than scissors for ten-plus cards.
- Make it stand — insert the flat card into your chosen holder, or glue it to the front of a scored and folded plain card to make a tent.
- Add the decorative element — twine bow, dried flower, monogram sticker, vinyl decal — whatever fits your style.
- Pack and label — put each table’s number into a labelled envelope or sandwich bag for the venue setup.
Get table numbers generated from the seating chart
Print your auto-counted cards now
5 DIY Wedding Table Number Projects
Five projects, ranging from 10-minute setup to 90-minute craft sessions. Each one starts with the same printed card from the auto-counted template; the difference is the assembly.
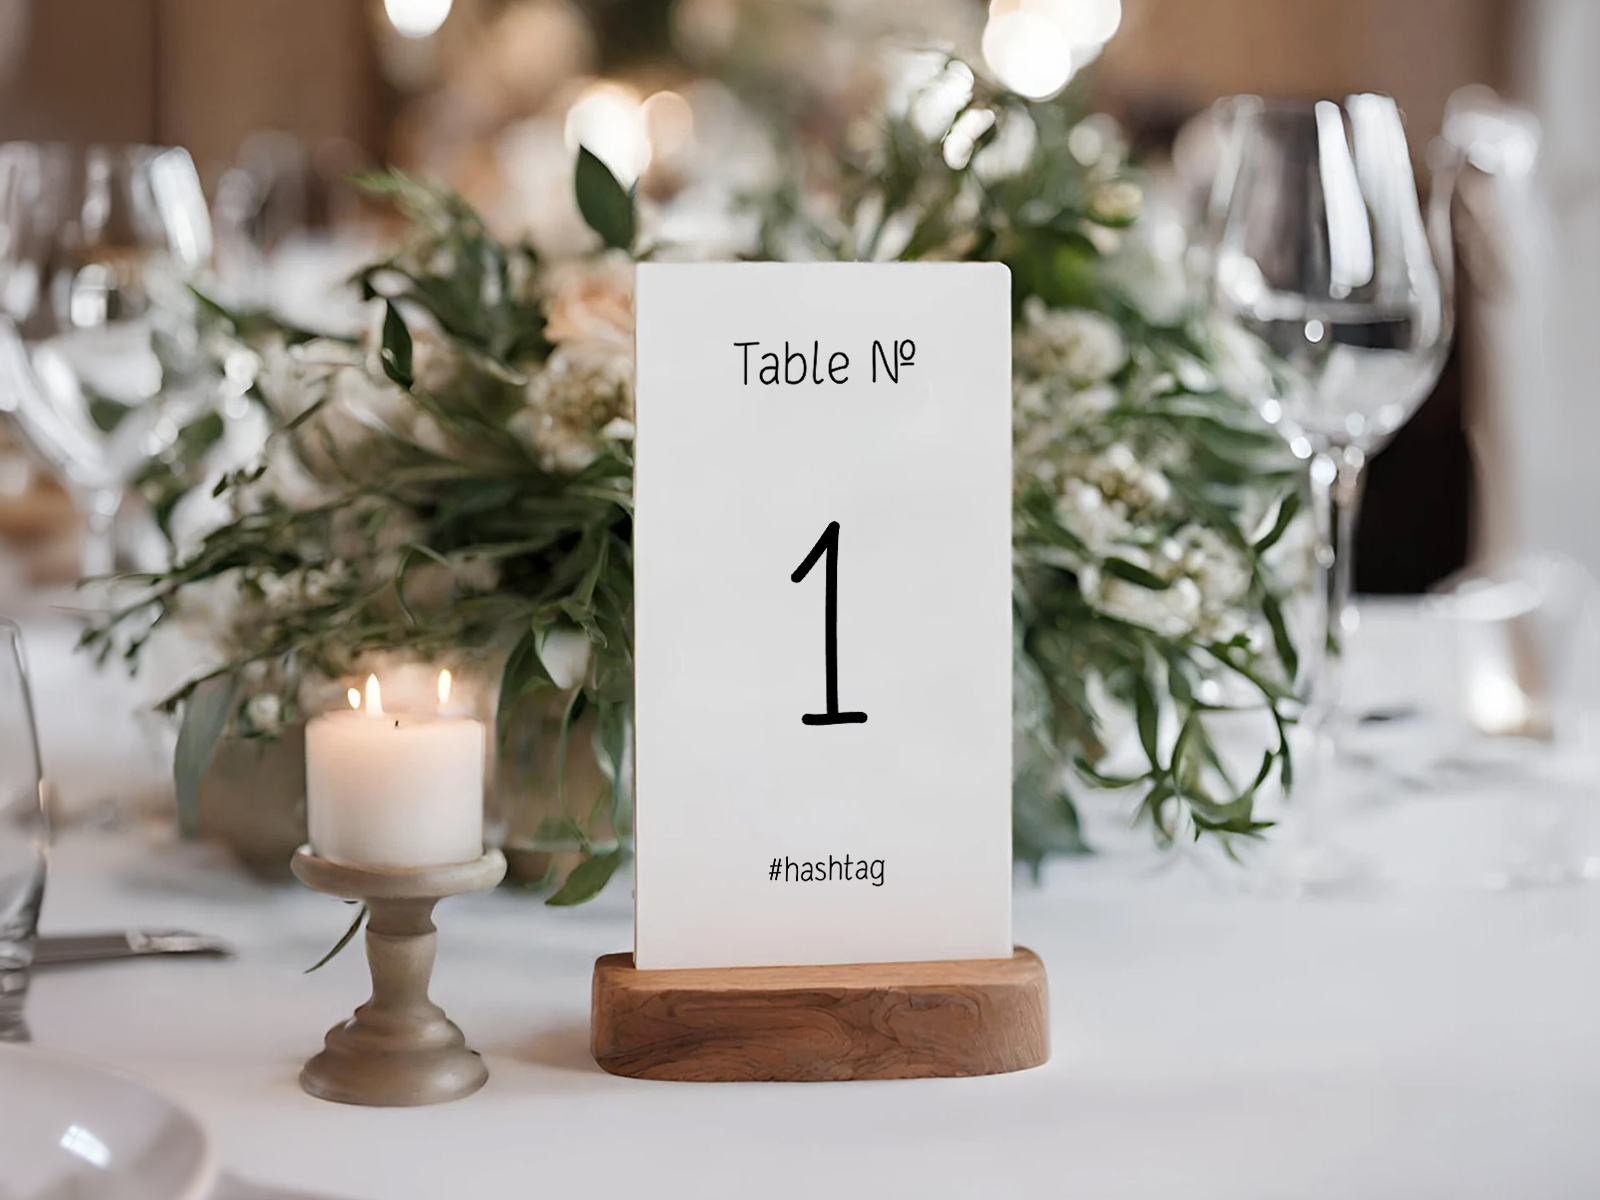
Project 1 — Folded Tent Backer + Twine Bow
The fastest project. Print and cut the flat cards, score and fold a plain cardstock strip into a tent, glue the number card to its front (a second copy on the back makes it double-sided), and tie a small twine bow around the fold. Roughly 5 minutes per card.
Materials: 100 lb cardstock for the cards and the tent backers, paper trimmer, glue stick, twine, scissors. Optional: a dried flower stem to tuck into the bow.
Time: 60–90 minutes for 12 tables. Cost: ~$8 for cardstock + twine.
Best for: rustic, barn, garden, outdoor weddings.
Project 2 — Painted Wood Block Holders
Pre-cut wood blocks (Home Depot or Etsy) painted in your wedding’s accent color, with the printed flat card slotted into a saw-cut groove on top.
Materials: 12 wood blocks (3×3×1.5 inches), acrylic paint in your accent color, foam brush, the auto-counted printed cards.
Time: 90 minutes painting + 30 minutes assembly = 2 hours total. Cost: ~$25–$40 for 12 tables.
Best for: rustic, farmhouse, vineyard weddings.
Try it free — no sign-up needed
Project 3 — Vintage Frame Table Numbers
Small picture frames (4×6 or 5×7) sourced from thrift stores or estate sales, with the printed card slotted in — the tall card fits a 4×6 frame, and a 5×7 needs a mat or a backing card. Each frame can be a different style — the eclectic mix is the look.
Materials: 12 small frames in coordinating tones (gold, brass, dark wood), the auto-counted printed cards.
Time: 30 minutes thrift-store sourcing + 30 minutes assembly = 1 hour for 12 tables. Cost: ~$50–$80 for 12 frames if buying secondhand.
Best for: vintage, library, museum, heritage weddings.
Project 4 — Acrylic Stencil Table Numbers
Clear acrylic blanks (Etsy or Amazon) with the number applied as a black or gold vinyl decal cut by a Cricut machine, or with the number printed on translucent acetate slotted between two acrylic sheets.
Materials: 12 acrylic blanks, vinyl sheets, Cricut or vinyl-cutting service, transfer tape.
Time: 2–3 hours including vinyl cutting. Cost: ~$40–$70 for 12 tables.
Best for: modern, industrial, ballroom, and gallery weddings.
Project 5 — Hanging Greenery Numbers
Hole-punched printed cards hung from a length of eucalyptus or vine running across the table. The number swings slightly, the greenery doubles as the centerpiece. Photogenic.
Materials: hole punch, twine or thin ribbon, eucalyptus or trailing vine (per table), the auto-counted printed cards.
Time: 90 minutes including greenery prep. Cost: ~$30–$50 for 12 tables (greenery is the main expense).
Best for: garden, outdoor, boho, and floral-heavy weddings.
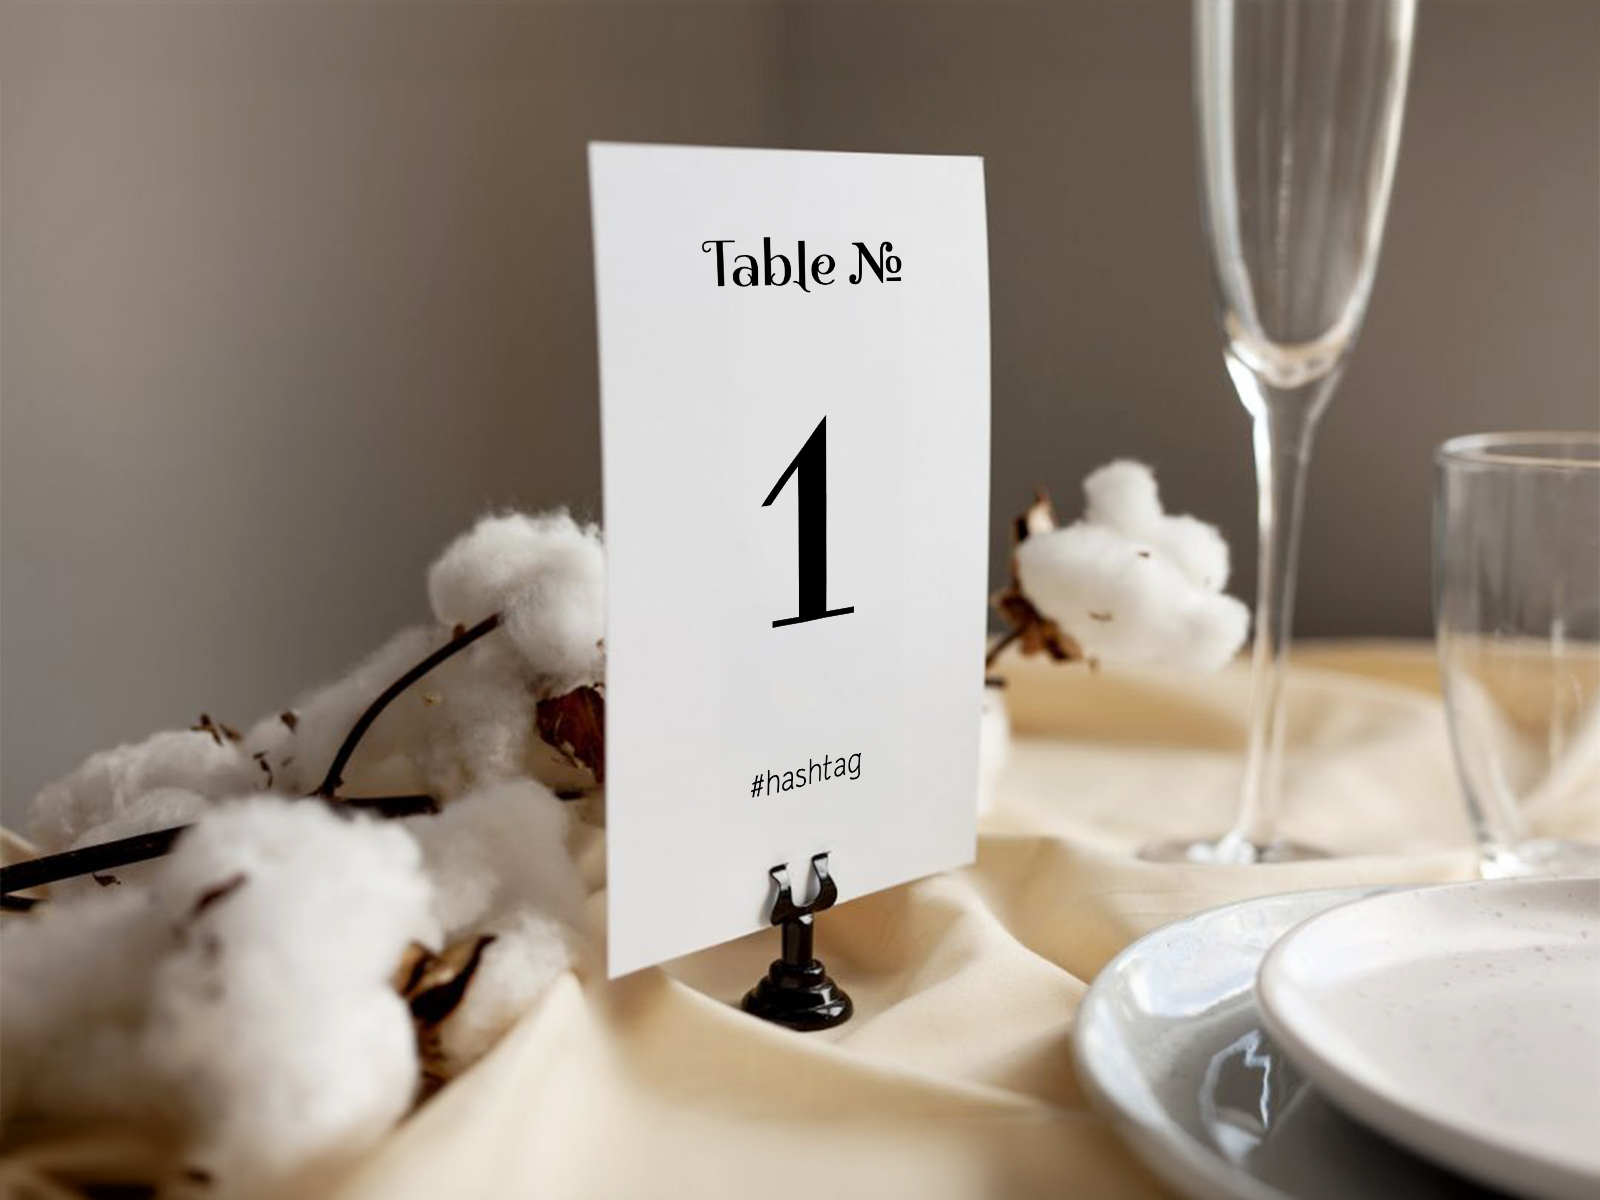
Common DIY Mistakes to Avoid
- Paper too thin — 60–70 lb paper looks bad in person and in photos. 100 lb minimum.
- Font too small — a 60pt number that looks fine on the screen disappears across a 10-top table. Use 80–100pt for the number itself.
- One face only — half the room can’t see the number. Unless your holder hides the back, print two copies and glue them back to back.
- Mismatched stands — twelve stands in different colors and styles read as a clutter, not a coordinated set. Pick one stand and stick with it across all tables.
- Last-minute printing — printer issues are universal. Print and assemble at least two weeks before the wedding.
When DIY Doesn’t Pay Off
DIY makes sense at small-to-medium weddings (under 25 tables) on tight budgets, with at least 6 hours of free craft time, and at venues with reliable indoor conditions. Three situations where DIY costs more than it saves:
Over 25 tables — at scale the assembly time exceeds the cost saving. A print shop quote starts looking competitive.
Formal ballroom weddings — guests notice DIY versus print-on-demand. The savings aren’t worth the cosmetic compromise.
Tight timeline — if you’re inside two weeks of the wedding, the time pressure of DIY assembly creates errors. Outsource to a local print shop instead.
Explore the rest of the wedding table numbers cluster
Each sub-page below covers a narrow slice of table-number production — design templates, print-ready files, 25+ creative ideas, and DIY tutorials — all powered by the same Wedding Planning Assistant seating chart.
Explore the rest of your wedding day-of stationery suite
Every item below is made in your Planning.Wedding project: the sign and the cards take names and tables from your guest list and seating chart, so one update reaches each of them, and the menu is designed right beside them. The same project holds your RSVPs, wedding website, budget, checklist and timeline.