Add guests to your guest list
Add guests one by one in the Guest List, choosing each guest’s side and role.
The Guest List starts with the couple and two places of honour — a maid of honour and a best man. You add everyone else one by one, or import a whole list from a file.
Before you start
- A project. If you don’t have one yet, create your first project.
Step by step
Step 1Open the Guest List
Click Guest List in the menu on the left.
Step 2Click Add guest
In the Two sides view, click Add guest under Bride’s guests or Groom’s guests — the guest joins that side. In the Alphabetic and Full table views, use Add guest at the top and choose the side in its menu.
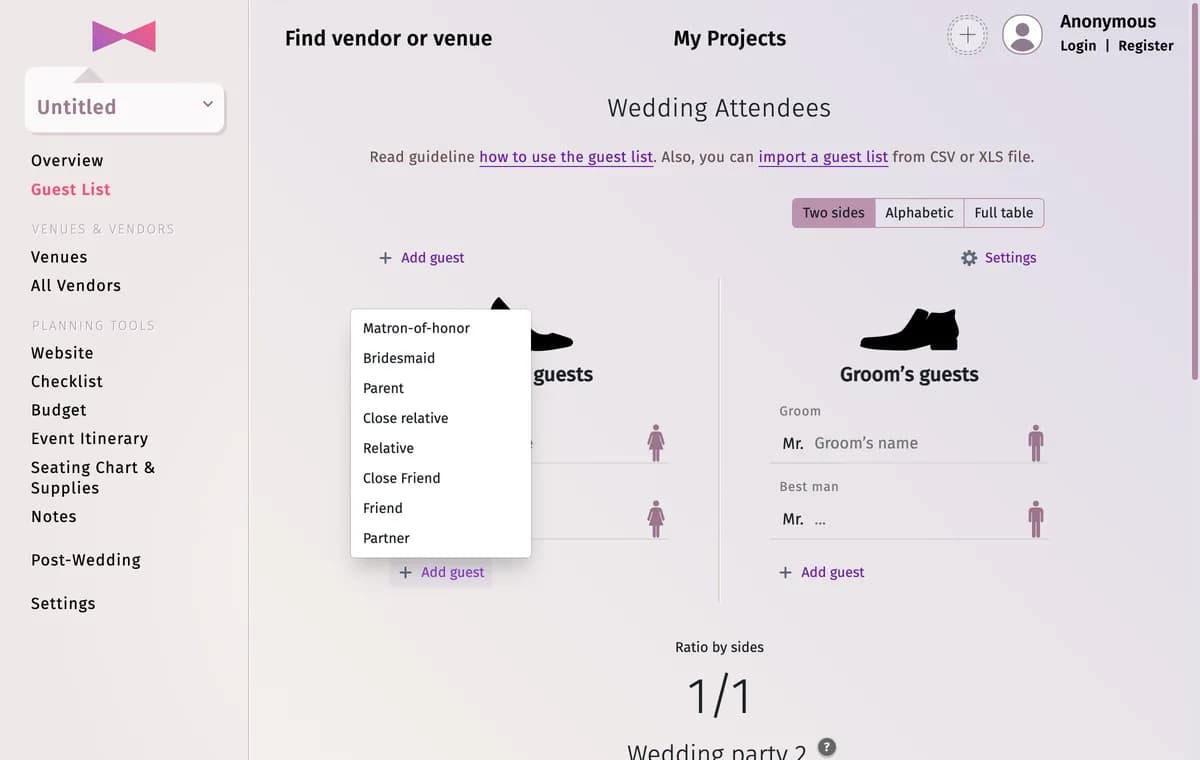
Step 3Choose who the guest is
Pick the guest’s role — for example Bridesmaid, Parent, Close relative, Friend or Partner. The role is shown above the name and is used to order the list and to seat guests automatically.
Step 4Type the name
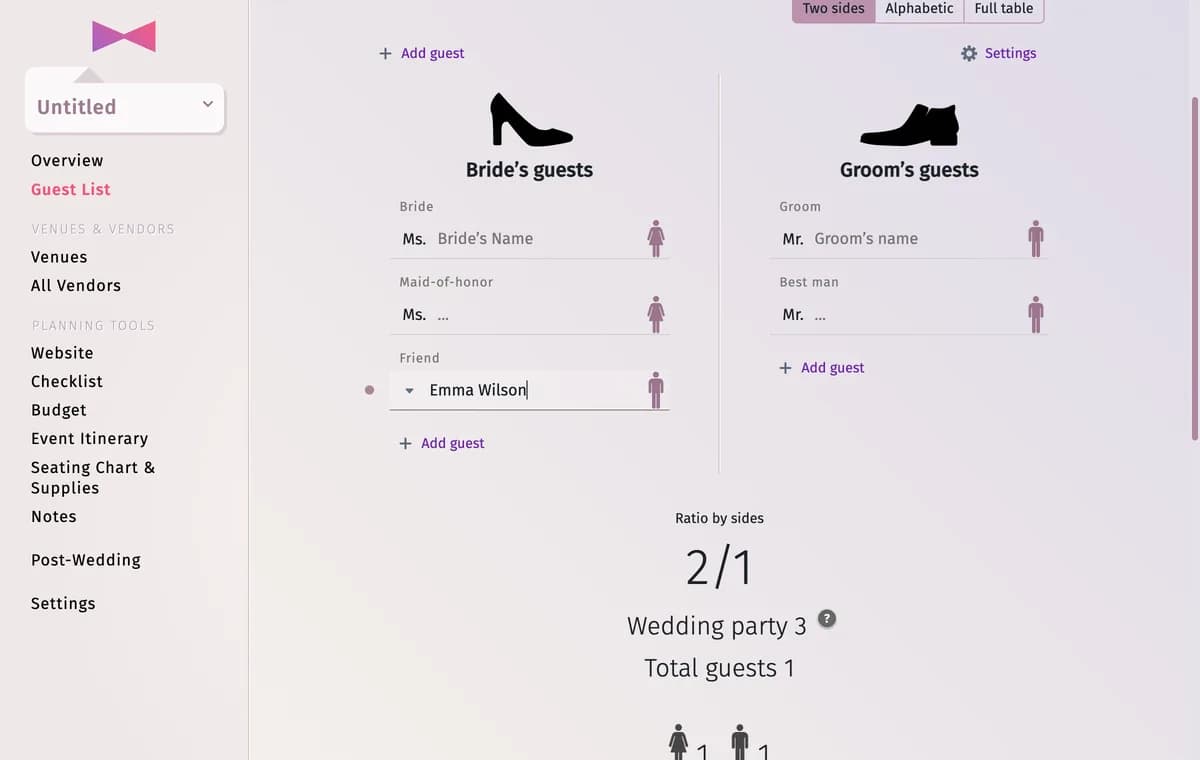
Type the guest’s first and last name in the new First and last name field and press Enter.
Step 5Check the counters
Under the list, Total guests and Ratio by sides update straight away.
Tips and important notes
- A new guest starts as an adult man. To change that, click the figure to the right of the name: the guest’s profile opens and you can choose a woman, a man, a child or an infant — see Edit a guest’s details.
- The dot to the left of a guest is their RSVP status. Click it to change the status.
- The bin icon next to a guest removes them from the list (you are asked to confirm).
- Already have a list in Excel or Google Sheets? Import it instead of typing.
- Staff — the photographer, the band, the waiters — don’t belong in the guest list. Add them in Settings → Staff above the guest list.
Troubleshooting
- I can’t type in the guest list.
- You opened a view-only link. Ask the person who shared the project for the full-access link — see Share your project.
- A guest is on the wrong side.
- Click the figure next to the guest’s name and choose Bride side or Groom side in the profile.
Updated November 3, 2026