


Explore more wedding ideas & advice
Printable Wedding Place Cards
Explore
Our service has assisted tens of thousands of couples worldwide in planning their dream weddings!
Printable Wedding Place Cards — Print-Ready PDF With Names Auto-Filled
Printable wedding place cards are about the file you send to the printer — not the design that goes on the file. This page covers paper stocks, sheet layouts, home-printer settings and the cutting workflow that turn a PDF into a finished pile of place cards on the wedding-day table.
For the two card formats, their sizes and fonts, see place cards template. For meal-choice icons, see place cards with meal choice. The same printing logic applies to printable escort cards, menu cards and table numbers — they’re usually printed in the same batch.
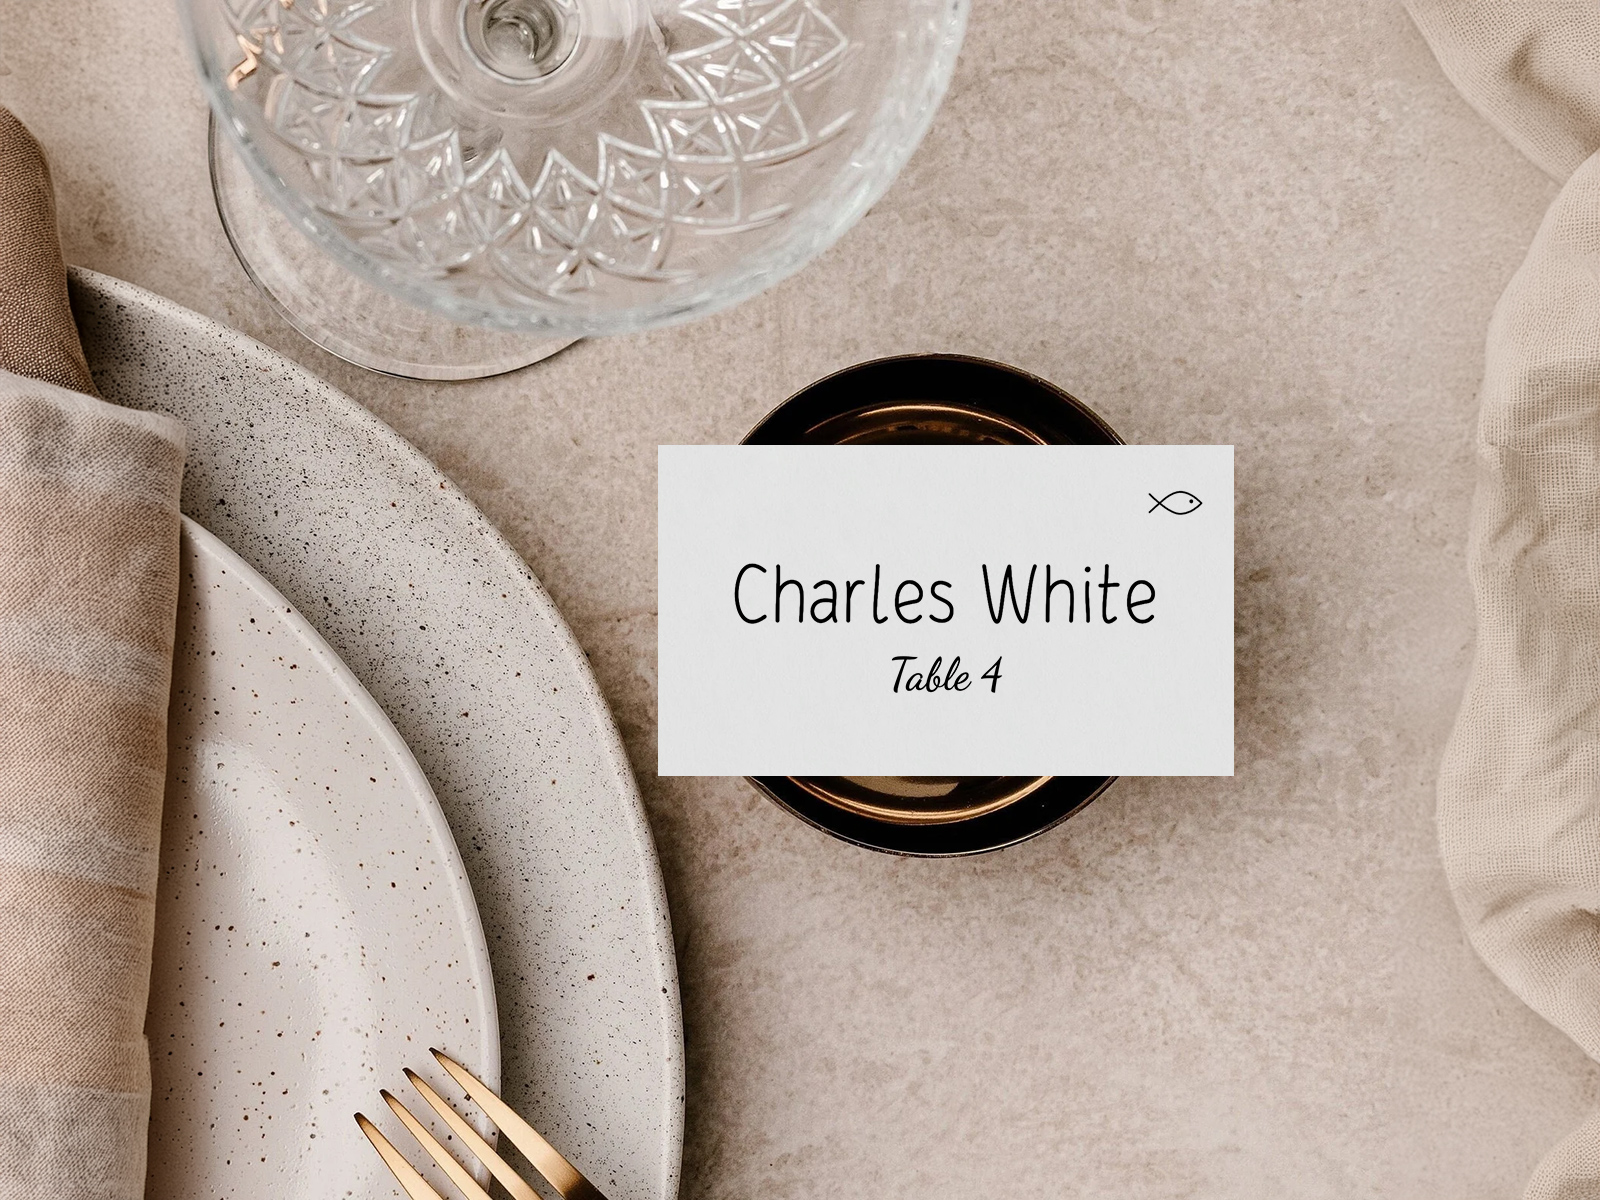
Names come from your seating chart project and print in guest-list order, sorted by family name, each with the table number of the seat that guest has been given.
Turn on “only guests who confirmed” after collecting RSVPs — declined and silent guests drop out of the PDF, so there are no leftover cards.
Place cards, menus, table numbers and the rest of your wedding day-of stationery are made in the same project and print on the same paper size, so you can run them in one batch.
PLANNING . WEDDING — is easy to remember and even easier to use.
How the Printable PDF Is Built — Sheet-Ready, Crop-Marked
The PDF that comes out of the export (a Premium feature) is genuinely print-ready — not a screenshot you’ll need to re-format. What you get:
- Vector output — names and icons stay razor-sharp at any print resolution, with the fonts embedded so the print shop needs nothing else.
- Crop marks at the corners of every card and fold marks at its halfway line — trim with a paper cutter or hand the file to a print shop’s guillotine.
- White cards on plain stock — no background ink to bleed, so a home printer can run it without borderless printing.
- Sheet layouts for US Letter or A4 — whichever paper size your project is set to.
- Every card in one file — the whole guest list (or only confirmed guests) in a single PDF, sorted by family name.
Get personalized name cards generated from the seating chart
Sheet Layout — How Many Cards Per Page
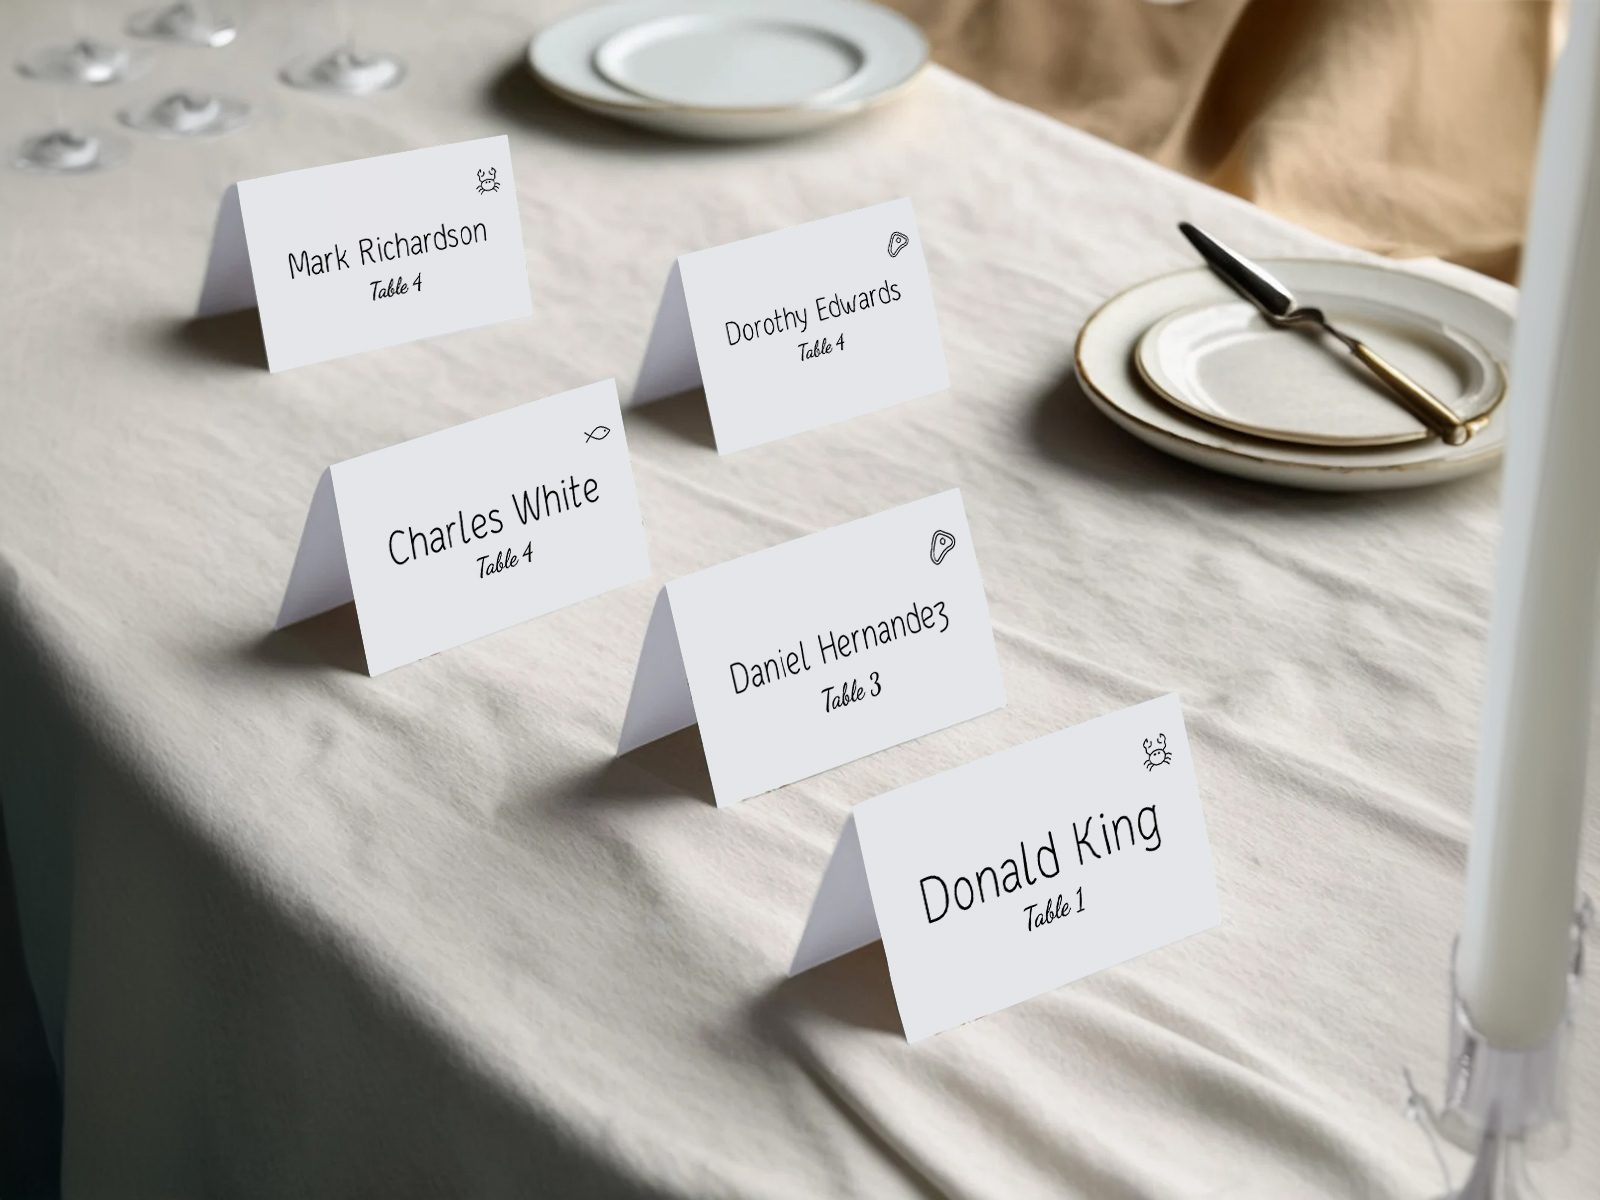
Sheet layout follows the template. Tent-fold cards print at about 3.8 × 3.8 in (they fold to 3.8 × 1.9), four to a sheet. Flat cards print at about 3.8 × 1.9 in, ten to a sheet. Cards never split across a page edge — a new sheet starts when the next card doesn’t fit.
For a 100-guest wedding that’s 25 sheets of tent cards or 10 sheets of flat cards. Buy a few extra sheets for test prints and last-minute reprints, and count your cardstock pack accordingly.
Cardstock Choice for Place Cards
Cardstock weight and finish change how the printed card looks and lasts. Not all weights work with home printers, and not all finishes hold ink the same way.
- 80 lb cover (about 216 gsm) — the lightest you’d want. Feeds through most home inkjets via the rear or manual tray, and tent-folds stand without leaning. Good for budget runs or test batches.
- 100 lb cover (about 270 gsm) — the wedding default. Many home printers take it through the manual feed; check your printer’s maximum paper weight before buying a big pack.
- 110 lb cover (about 300 gsm) — reads as a higher-end finish. Many entry-level home printers jam or smudge at this weight; a print shop will cope without issue.
- Linen, matte and laid finishes all work for place cards. Avoid coated or glossy stocks — they don’t hold calligraphy ink and they look flat under venue lighting.
Perforated Sheets vs Plain Cut Cardstock
Pre-perforated sheets (Avery and similar) promise peel-and-place cards, but every brand uses its own grid and our PDF is laid out for plain cardstock with crop marks — the perforations won’t line up with the cards.
Plain cardstock and a paper trimmer (a $15 home tool) or a print shop’s guillotine give you a clean cut edge on every card. Cut along the crop marks, fold tent cards along the fold marks, and 100 cards are done in well under an hour.
Try it free — no sign-up needed
Home Printer Settings — Step-by-Step
Home printers vary, but the settings that matter for place cards are universal. Set paper type to cardstock or heavy, set quality to high or best, and use the manual paper-feed tray (most home printers don’t auto-feed cardstock cleanly).
Print one test sheet first. Check the alignment, the crop marks, the ink saturation. Once the test prints clean, run the rest of the batch. Reprint the sheet for any card with smudges or paper-jam scuffs.
Hybrid Approach — Print Names + Hand-Letter Embellishments
A growing trend is to print the typed names from the template and then hand-letter additional details — a decorative initial, a calligraphy flourish, a small meal-choice symbol. The template handles the precise text alignment; the calligrapher adds the warmth.
Pick a cardstock with a calligraphy-friendly finish (matte or laid) and leave a small margin on the card for the hand-lettered element. Most calligraphers can finish 100 cards in a single afternoon if the printed text is already in place.
When to Use a Print Shop Instead
Home printing works for 50–150 cards on standard cardstock. Above that count, or with premium stocks (cotton, deckle-edge, foiled), a local print shop is the better choice — and the same PDF you’d print at home goes straight to them. No re-export, no specs adjustment.
Explore the rest of the wedding place cards cluster
Each sub-page below covers a narrow slice of place-card production — design templates, print-ready files, RSVP-driven meal-choice icons, and creative styling — all powered by the same Wedding Planning Assistant seating chart.
Explore the rest of your wedding day-of stationery suite
Every item below is made in your Planning.Wedding project: the sign and the cards take names and tables from your guest list and seating chart, so one update reaches each of them, and the menu is designed right beside them. The same project holds your RSVPs, wedding website, budget, checklist and timeline.